

Are you planning to upgrade your home with a fresh, functional layout? Working with a local bathroom design and installation team ensures your project is handled by professionals who understand regional housing styles and building regulations. A successful renovation requires balancing aesthetics with technical execution, including plumbing, ventilation, and waterproofing.
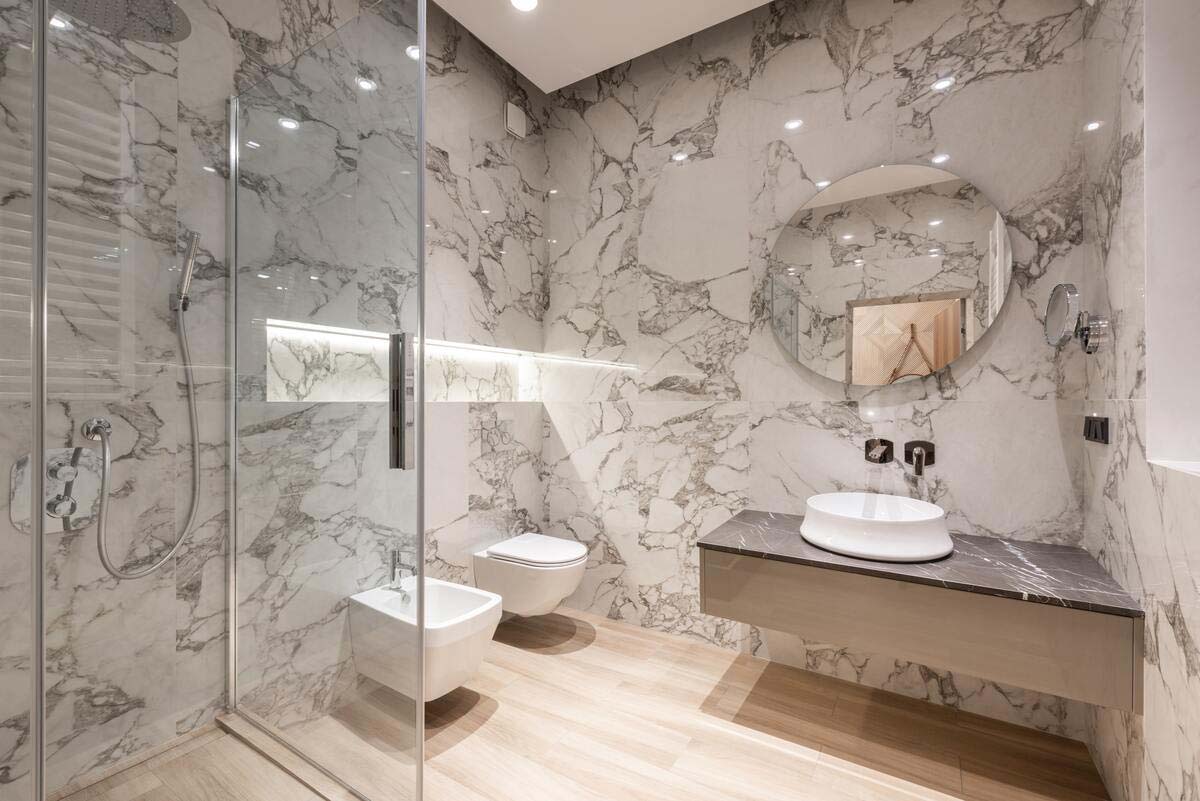
Why Hire a Professional Exeter Bathroom Fitter?
Attempting a DIY remodel or hiring unvetted contractors often leads to scheduling conflicts, structural errors, and unexpected costs. A dedicated local bathroom design and installation team manages the entire project from initial concepts to final finishing touches.
Technical Expertise and Project Management
Bathrooms are highly technical spaces. Unlike standard living areas, they combine complex plumbing infrastructure with high-voltage electrical requirements. Professional bathroom fitters in Exeter provide a streamlined service that coordinates multiple trades, including:
-
Licensed plumbers to reroute supply lines and waste pipes correctly.
-
Certified electricians to safely install lighting, extractors, and underfloor heating.
-
Specialist tilers to ensure precise layouts and perfect gradients for drainage.
Access to Local Suppliers and Materials
Established regional contractors maintain strong relationships with local trade merchants. This often translates to better material availability, reliable delivery schedules, and access to trade-exclusive fixtures. Whether you are sourced high-end ceramics or searching for space-saving vanity units, a local team can acquire quality components efficiently.
Step-by-Step Bathroom Renovation Process
A structured approach prevents project delays and ensures the final layout functions exactly as intended. Experienced bathroom installation specialists follow a rigorous design and construction timeline.
1. The Design and Consultation Phase
Before any tools are lifted, a comprehensive site survey is essential. Designers measure the structural footprint, note the positions of existing waste stacks, and check the water pressure.
During this stage, your local bathroom design and installation team will help you select layouts that optimize spatial flow. They will calculate clearances for opening doors, drawers, and shower enclosures to prevent overcrowding.
2. The Rip-Out and Preparation
The old suite, wall coverings, and flooring must be carefully stripped away. This is a critical stage where hidden issues, such as historic pipe leaks or structural rot in the joists, are identified and repaired. The walls are then prepped with moisture-resistant plasterboard or tanking backing systems to create a stable, waterproof substrate.
3. First-Fix Plumbing and Electrical Work
This phase involves installing all the infrastructure that sits behind the walls and under the floorboards. Pipes are laid for the basin, toilet, and shower, while cables are run for light switches, shaver sockets, and ventilation fans.
4. Tiling and Waterproofing
Waterproofing, or tanking, is non-negotiable in wet areas. Specialized membranes are applied to shower enclosures and around baths before tiling begins. The tiles are then laid using flexible, moisture-resistant adhesives and grouts designed to withstand temperature fluctuations.
5. Second-Fix Installation and Commissioning
Once the surfaces are finished, the visible fixtures are fitted. The toilet pan, washbasin, shower valves, and glass screens are secured and connected. Finally, the system is pressure-tested to verify there are no leaks, and electrical certificates are issued.
Maximizing Space in Smaller Bathrooms
Many homes in Devon feature compact bathroom layouts, particularly historic terraced houses or modern apartments. Achieving a spacious feel requires strategic design choices rather than major structural alterations.
Wall-Hung Sanitaryware
Traditional floor-mounted toilets and basins take up valuable floor area and interrupt the visual flow of the room. Opting for wall-hung alternatives exposes more of the floor, creating the illusion of a larger footprint. It also makes cleaning the space significantly simpler.
Smart Storage Solutions
Clutter quickly makes a small room feel restrictive. Consider incorporating these storage strategies:
-
Recessed Wall Niches: Utilize the cavity space inside stud walls to create sleek shelving for shampoos and soaps without protruding into the shower area.
-
Vanity Units: Replace standard pedestal basins with a combination basin and cupboard unit to conceal toiletries.
-
Mirrored Cabinets: Combine essential mirror placement with shallow hidden storage for daily items.
Critical Factors: Ventilation and Lighting
A beautiful bathroom will quickly deteriorate if it lacks proper air circulation and appropriate lighting levels. These two components directly affect the longevity of the installation and the safety of the users.
Preventing Mold with Mechanical Ventilation
Bathrooms generate high volumes of airborne moisture. Without adequate extraction, this steam condenses on cold surfaces, leading to mold growth, peeling paint, and damaged grout.
Modern building regulations mandate specific extraction rates measured in liters per second. Your installation team will calculate the volume of your room and install an appropriately rated extractor fan, often featuring a run-on timer or humidity sensor to clear the air automatically.
Understanding Bathroom Electrical Zones
Water and electricity are a dangerous combination, which is why bathrooms are divided into strict electrical zones based on risk levels:
|
Zone |
Definition |
Minimum IP Rating Required |
|
Zone 0 |
Inside the bath or shower basin itself. |
IPX7 (Protected against immersion) |
|
Zone 1 |
The area directly above the bath or shower up to 2.25m. |
IPX4 (Protected against splashing water) |
|
Zone 2 |
The area stretching 0.6m outside the perimeter of the bath or shower. |
IPX4 (Protected against splashing water) |
Any lighting, mirrors, or heating components installed must match or exceed the specific Ingress Protection (IP) rating required for that exact location.
Choosing the Right Materials for Longevity
Selecting durable materials ensures your investment looks excellent and functions flawlessly for years to come. Consider the practical attributes of each surface option.
Ceramic vs. Porcelain Tiles
While they look similar, porcelain tiles are fired at much higher temperatures than standard ceramic options. This process makes porcelain denser, less porous, and highly resistant to wear and water absorption. It is the ideal choice for high-traffic floors and walk-in shower enclosures.
Solid Surfaces and Composites
For vanity tops and wall panels, solid surface composites offer a seamless finish with no grout lines. This eliminates places where dirt and mold can accumulate, making the room highly hygienic and easy to wipe down.
Working with Local Specialists
When you choose a dedicated team for your renovation, you gain peace of mind knowing the work complies with all relevant standards. By focusing on detailed preparation, proper waterproofing, and logical spatial planning, your new bathroom will serve as a durable, valuable asset to your property for years to come.
